


Inside Film Institute

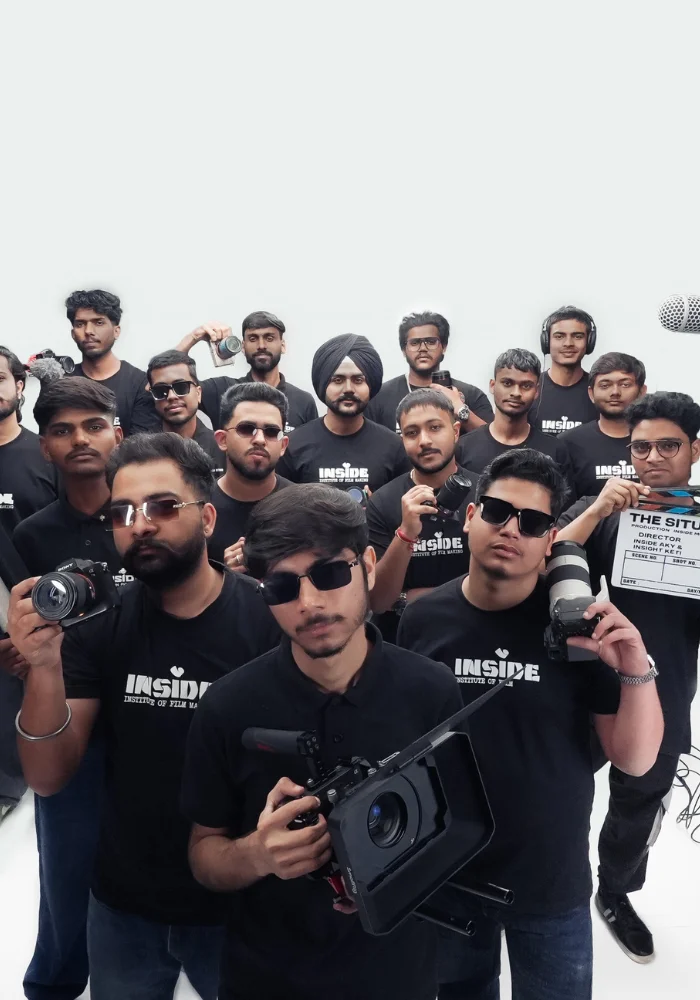
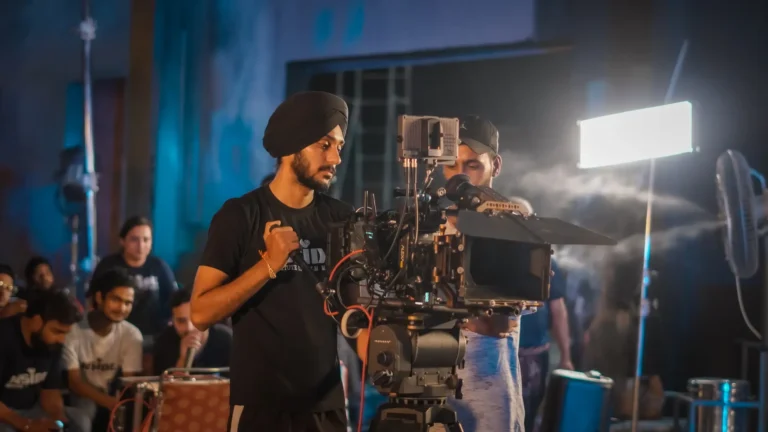
Student operating a cinema camera on a lit film set at an Inside Film Institute workshop
Free Course

Film FoundationsLearn filmmaking for free

0 of 8 chapters done
Start Chapter 1
  1. 1Chapter 1: Directing5 min
  2. 2Chapter 2: Cinematography5 min
  3. 3Chapter 3: Script Writing5 min
  4. 4Chapter 4: Video Editing5 min
  5. 5Chapter 5: Colour Grading5 min
  6. 6Chapter 6: VFX5 min
  7. 7Chapter 7: Acting for Camera5 min
  8. 8Chapter 8: Producing5 min
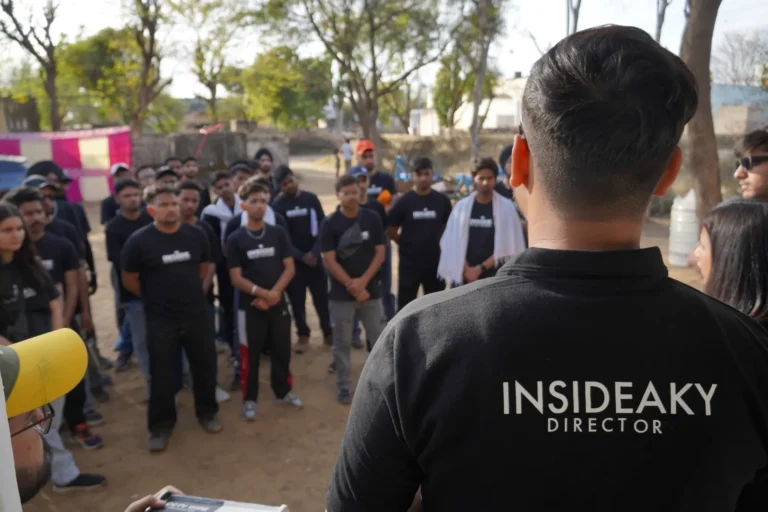
Director briefing the crew before a take on an Inside Film Institute shoot
Director briefing the crew
Free course 1 · Directing Basics · 5 min

How a director turns a script into scenes

A director decides how the story feels on screen. The writer gives the words, the cinematographer the images and the editor the rhythm – the director makes sure all of it tells one story.

What a director actually does

  • Reads the script and decides what each scene is really about
  • Plans the shots with the cinematographer – a shot list or storyboard
  • Casts and rehearses the actors
  • Leads the set: blocking, takes and performance notes
  • Guides the edit, music, sound and colour until the film is finished

5 steps to direct your first short film

  1. Find the core. Write one line about what the audience should feel at the end.
  2. Break down the script. Split it into scenes; for each, note the location, characters, props and time of day.
  3. Make a shot list. For every scene plan wide, medium and close shots. This “coverage” gives the editor choices.
  4. Block and rehearse. Decide where actors stand and move before the camera is placed. Rehearse once without the camera.
  5. Shoot, then review. Watch takes on the monitor and note the best ones for the editor.

Common beginner mistakes

  • Shooting only wide shots – leaving the editor nothing to cut to
  • Changing the plan on set without telling the crew
  • Giving actors results (“be sad”) instead of actions (“you are hiding the letter from her”)
Try this todayPick a one-minute scene from a film you love. Watch it with no sound and write down every shot – wide, medium or close. You have just reverse-engineered a shot list.
Check yourself · 3 questions

1. What is “coverage”?

2. Blocking means…

3. Which note helps an actor most?

Go deeper

Direct your own short films with a full crew – script to screen in 12 months.

Also see: Pro Cinema →
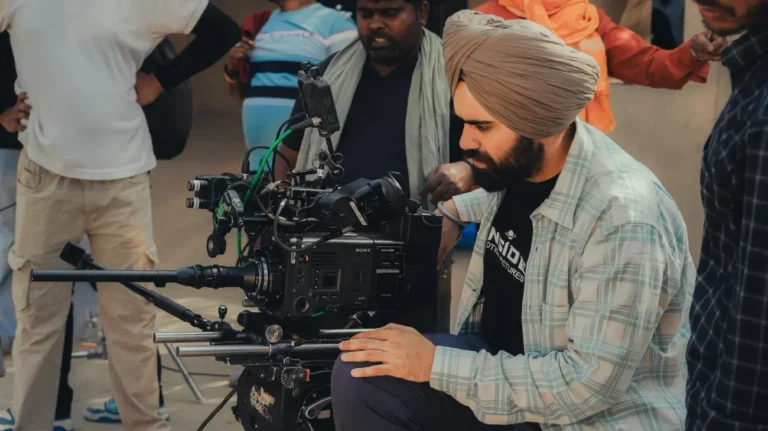
Students operating a cinema camera at an Inside Film Institute workshop
Students on a cinema camera
Free course 2 · Cinematography Basics · 5 min

Cinematography basics: light, lens and frame

The Director of Photography (DOP, or cinematographer) designs how every frame looks: what the camera sees, how it moves and – most of all – how it is lit.

The exposure triangle in one minute

  • Aperture (f-stop): a lower number lets in more light and blurs the background more.
  • Shutter: for natural motion use about double your frame rate – 1/50 at 25 fps.
  • ISO: brightens the image, but too high adds noise. Fix light or aperture first; raise ISO last.

Three-point lighting

The key is the main light, usually at about 45° to one side. The fill is softer, on the other side, and controls how dark the shadows are. The back light sits behind the actor and separates them from the background. A window, a white bedsheet and a table lamp can do the same job.

5 rules for better frames

  1. Rule of thirds. Place the eyes on the top third of the frame.
  2. Lead room. Leave space in the direction a person looks or moves.
  3. Foreground. A door frame or leaves in front of the lens add depth.
  4. Choose the lens by feeling. Wide lenses show the world; long lenses isolate a face.
  5. Move with a reason. Move the camera when the character or the story moves.
Try this todaySit someone near a window. Film them facing the window, side-on, and with their back to it. Same face, three moods – that is lighting.
Check yourself · 3 questions

1. At 25 fps, which shutter speed looks most natural?

2. In three-point lighting, the back light…

3. For a soft, blurry background you should…

Go deeper

Light and shoot on a real film set with cinema cameras – 6 months.

Also see: Pro Filmmaking →
Students writing and planning a script together at Inside Film Institute
Writers’ room
Free course 3 · Script Writing Basics · 5 min

Script writing: from idea to a 3-page short

Every film starts as words on paper. A screenplay is not a novel – it only describes what we can see and hear.

Start with a logline

One or two sentences: who the hero is, what they want, and what stands in the way. Example: “A shy village boy secretly enters a city dance battle to save his family’s farm.” If you cannot write the logline, the story is not clear yet.

Three-act structure

  • Act 1 – Setup (about 25%): normal life, then an event that changes everything.
  • Act 2 – Conflict (about 50%): the hero tries, fails, and the stakes rise.
  • Act 3 – Resolution (about 25%): the final choice, and how the hero has changed.

Screenplay format basics

  1. Scene heading: INT. or EXT., the place, DAY or NIGHT – e.g. EXT. VILLAGE ROAD – NIGHT.
  2. Action lines: present tense, short, only what the camera can see.
  3. Dialogue: the character’s name in capitals, the lines below it.
  4. Timing: one page is roughly one minute on screen.
  5. Tools: any free screenwriting app or template – story matters more than software.

Show, don’t tell

Instead of a character saying “I am nervous”, show her checking her phone for the tenth time. Pictures carry feelings better than explanations.

Try this todayWrite a one-page scene with two characters and one secret. Nobody may say the secret out loud.
Check yourself · 3 questions

1. A logline is…

2. Roughly how long is one screenplay page on screen?

3. “Show, don’t tell” means…

Go deeper

Write, direct and shoot your own scripts in 12 months.

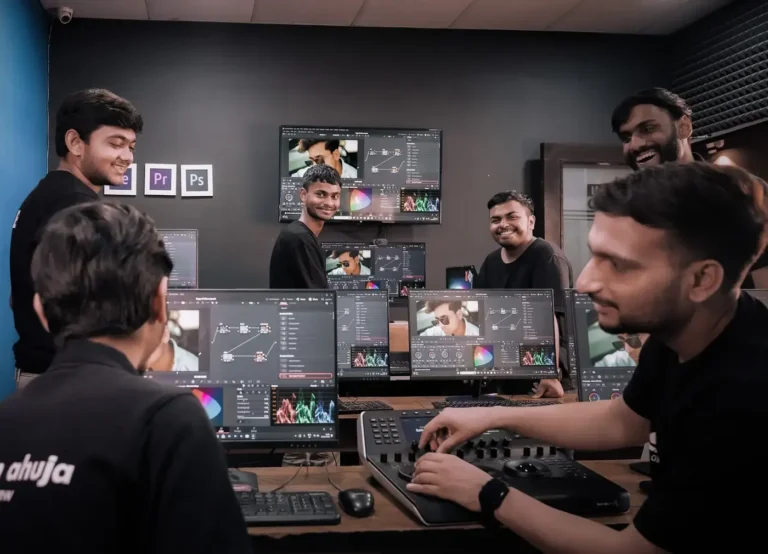
Editing and grading lab with students at Inside Film Institute
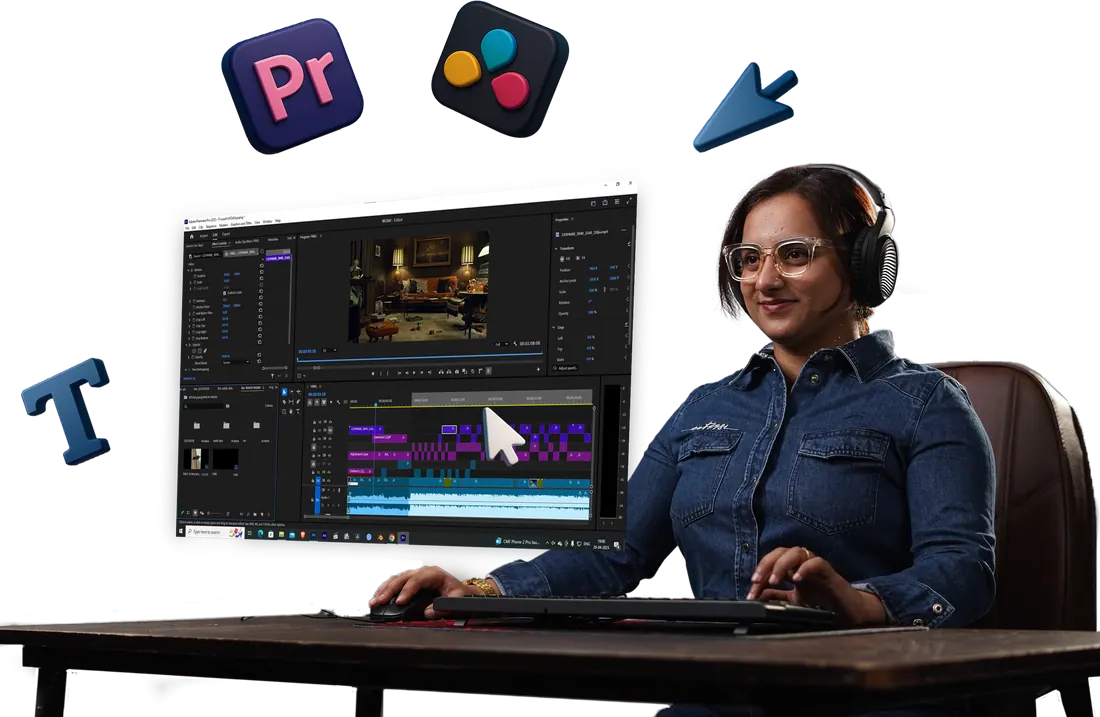
Editing lab
Free course 4 · Video Editing Basics · 5 min

Video editing that keeps people watching

Editing is the final rewrite of a film. Good editing is invisible – the audience feels the rhythm without noticing the cuts.

Cuts every editor uses

  • Straight cut: a plain change from one shot to the next.
  • J-cut: the next scene’s sound starts before its picture.
  • L-cut: the sound of this shot carries on over the next picture.
  • Match cut: links two shots through a shape or a movement.
  • Cutaway: a shot of something else – hands, a clock – that hides a jump or adds meaning.

A simple editing workflow

  1. Organise: put clips into bins (folders) by scene and rename them.
  2. Assembly: place every scene in script order – no polish yet.
  3. Rough cut: choose the best takes and cut the story to length.
  4. Fine cut: trim frames, fix the rhythm, add J- and L-cuts.
  5. Finish: sound mix, music, colour, titles – then export.

Where AI helps today

AI tools can transcribe interviews so you edit by text, find usable takes faster, clean background noise, turn a 16:9 film into 9:16 reels and create captions. They save hours – but deciding what to cut is still your job.

Try this todayTake 20 clips from your phone gallery and cut a 30-second reel to one song. Rule: cut only on the beat.
Check yourself · 3 questions

1. In a J-cut…

2. What usually comes first in an edit?

3. A cutaway is…

Go deeper

Premiere Pro, DaVinci Resolve, After Effects and AI tools – 6 months.

Also see: Pro Filmmaking →
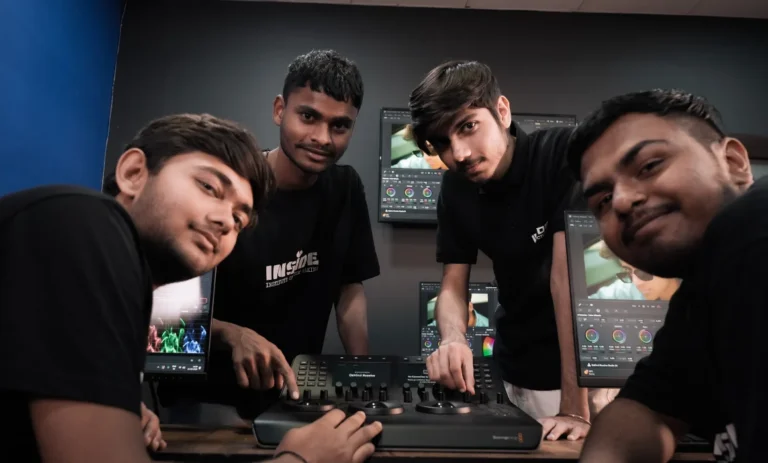
Students using a DaVinci Resolve colour grading panel at Inside Film Institute
Grading on a colour panel
Free course 5 · Colour Grading Basics · 5 min

Colour grading: correct first, then create a look

Colour decides the mood of a film. The same shot can feel warm and hopeful or cold and lonely – only the colour changes.

Correction first, then grading

Colour correction makes shots look natural and consistent: right exposure, right white balance, matching shots. Colour grading comes after – it creates the look, such as warm nostalgia, a cold thriller or punchy action.

Read the scopes, not just the screen

  • Waveform: shows brightness from black (0) to white (100). Keep important details inside that range.
  • Vectorscope: shows colour. Skin tones of every complexion sit close to one line – the “skin tone line”.
  • RGB parade: compares red, green and blue side by side to spot a colour cast.

LOG footage and LUTs

Many cameras record LOG – a flat, grey image that keeps more detail in highlights and shadows. A LUT (look-up table) converts it to normal contrast (Rec.709) or adds a look. Set exposure and white balance before the LUT.

A beginner’s grading order

  1. Balance exposure and contrast.
  2. Fix the white balance.
  3. Match all shots in the same scene.
  4. Add the creative look.
  5. Check skin tones last – faces must still look real.
Try this todayInstall the free DaVinci Resolve. Grade one clip three ways – warm, cold and black-and-white – and notice how the story changes.
Check yourself · 3 questions

1. Which step comes first?

2. A LUT is mainly used to…

3. Which scope shows brightness from black to white?

Go deeper

Editing plus colour grading in DaVinci Resolve, with AI tools – 6 months.

Also see: Pro Cinema →
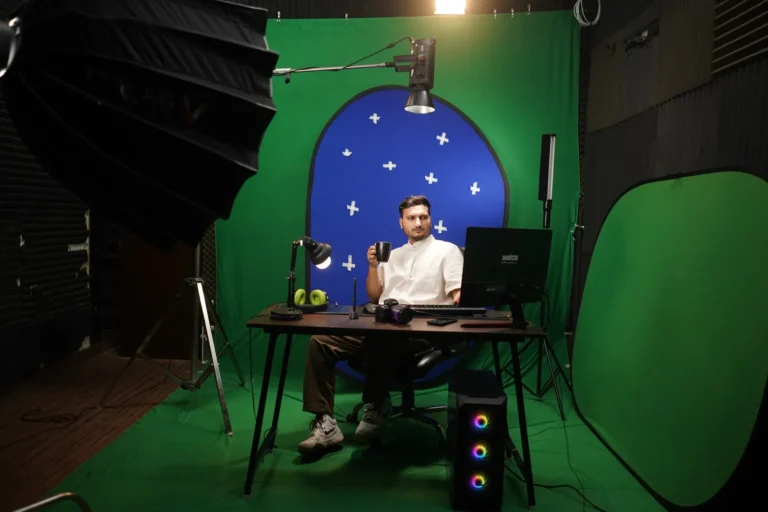
Green screen studio set with a desk at Inside Film Institute
Green screen studio
Free course 6 · VFX Basics · 5 min

VFX for beginners: from green screen to final shot

Visual effects add what was impossible, unsafe or too expensive to film – from a city skyline to a removed safety wire. The best VFX are the ones you never notice.

Core VFX skills

  • Keying: removing a green or blue screen.
  • Tracking: following the camera’s movement so added elements stick in place.
  • Rotoscoping: cutting out an object frame by frame.
  • Compositing: layering everything so it looks like one shot – in tools like After Effects, Nuke or Fusion.
  • 3D: modelling, lighting and rendering objects and worlds – for example in Blender.

5 rules for shooting green screen

  1. Light the screen evenly – no hot spots or folds.
  2. Keep the actor 2–3 metres away from the screen to avoid green spill.
  3. Avoid green clothes and shiny jewellery.
  4. Use a faster shutter for action, and add tracking markers if the camera moves.
  5. Match the light on the actor to the background you will add later.

Why VFX starts on set

Most VFX problems are created on the shoot day. Artists who understand cameras and lighting get cleaner plates – and finish shots much faster.

Try this todayInstall the free Blender, follow one beginner tutorial and render a 5-second turntable of the object you make.
Check yourself · 3 questions

1. Why are VFX screens green or blue?

2. Tracking is used to…

3. On a green screen shoot, the actor should stand…

Go deeper

After Effects, Blender 3D, green-screen shooting and compositing on real projects – 12 months.

Also see: Video Editing using AI →
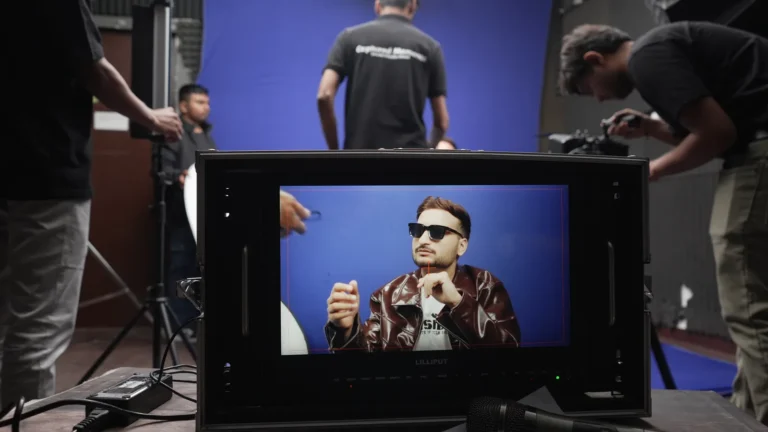
Actor recording a self-tape audition, seen on a monitor at Inside Film Institute
Self-tape on the monitor
Free course 7 · Acting for Camera Basics · 5 min

Acting for camera: small, real, repeatable

Acting for the camera is smaller and more truthful than stage acting. The camera is close – it sees every thought.

Stage vs screen

On stage you project to the last row. On screen a close-up can fill a cinema wall, so a raised eyebrow is a big moment. Think the thought – the camera will see it.

On-set skills nobody tells you about

  • Eyelines: where you look matters – usually the other actor’s eye closest to the camera.
  • Continuity: repeat the same action (a sip, a hand, a prop) on the same line in every take.
  • Marks: finish your walk exactly where the camera team marked the floor.
  • Takes: give the same truth ten times, with small changes when the director asks.

5 steps for a strong self-tape audition

  1. Camera at eye level, phone horizontal unless asked otherwise.
  2. Face a window or a soft light, with a plain background.
  3. Frame from mid-chest up; your reader stands right next to the camera.
  4. Know the lines well enough to listen, not remember.
  5. Slate clearly – name, height, city – then send one or two takes only.
Try this todayRecord a one-minute monologue on your phone. Watch it once with the sound off – do your eyes tell the story?
Check yourself · 3 questions

1. Compared with stage acting, screen acting is usually…

2. Continuity means…

3. For a self-tape, the camera should be…

Go deeper

Screen acting, auditions and performing on real sets – 3 months.

Large film crew on the set of a feature film shoot with Inside Film Institute
A feature film crew on set
Free course 8 · Producing Basics · 5 min

Producing: budget, schedule and release

The producer turns an idea into a finished, released film. If the director owns the story, the producer owns everything that makes the story possible.

What a producer handles

  • Money: budget, sponsors, investors and payments.
  • People: hiring the director, cast and crew.
  • Time: the schedule and the number of shoot days.
  • Places: locations and permissions.
  • Release: YouTube, OTT platforms, festivals or cinema.

Plan a one-day short-film shoot

  1. Breakdown: list every location, actor, prop and costume in the script.
  2. Budget: crew, equipment rent, food, travel, location fees – plus about 10% extra for surprises.
  3. Schedule: group scenes by location, not script order, to save time.
  4. Permissions: get written permission for every location, and check local rules for public places.
  5. Call sheet: send it the night before – who, where, when, and phone numbers.

Release thinking starts early

Decide your platform before you shoot. A festival short, a YouTube film and a reel series need different lengths, formats and music rights. Use only music you own or have licensed.

Try this todayPlan a one-day shoot for a 3-minute film: write the budget in a spreadsheet and make a call sheet for your crew.
Check yourself · 3 questions

1. Shoot schedules are usually grouped by…

2. A call sheet tells the crew…

3. Why add about 10% extra to a budget?

Go deeper

Plan, budget and produce your own films – 12 months, script to screen.

Also see: Pro Cinema →